How To Buy Nimiq (NET)
Nimiq is a cryptocurrency aimed at becoming a payment protocol which lowers the barrier of entry for both users and developers. The Nimiq team are currently working towards releasing the Mainnet protocol, in which the Nimiq eco-system will go live, including the launch of it's coin, wallet and other applications.

How To Buy Nimiq (NET)
- What is Nimiq?
- Sign Up To Liqui.io Exchange
- Transfer ETH to Liqui.io
- Buy NET on Liqui.io
- Liqui Fee for NET
- NET to NIM conversion
- Store NET on MyEtherWallet
What is Nimiq?
One of the special and most interesting features of Nimiq is it's browser-based blockchain. A user can mine Nimiq tokens just by simply using their browser. The Nimiq blockchain is coded in JavaScript and is a "third-generation" blockchain. The ease-of-use that this cryptocurrency brings makes it very friendly to beginners and mass adoption.
Initially, Nimiq launched it's ICO in June 2017, selling NET tokens to help raise-funds for the company. It was a huge success and all tokens were purchased. You can now purchase these tokens on exchanges and invest in Nimiq yourself. When Mainnet launches in Q1 2018, these tokens can be traded in for the Nimiq Cryptocurrency (NIM).
Currently, you can purchase NET tokens on these exchanges:
For this tutorial, we'll be using the Liqui.io exchange for it's ease-of-use and clean interface.
First things first: you need to buy Ethereum to trade for NET tokens. You can follow our guide that we wrote that allows you to buy Ethereum with any real world currency using an exchange called Coinbase.
Once you have your Ethereum, we can get started.
Sign Up To Liqui.io Exchange
In order to buy NET tokens, we need to sign up to an exchange that allows us to trade Ethereum for NET tokens. We'll be using Liqui.io, which allows us to trade ETH and BTC for NET.
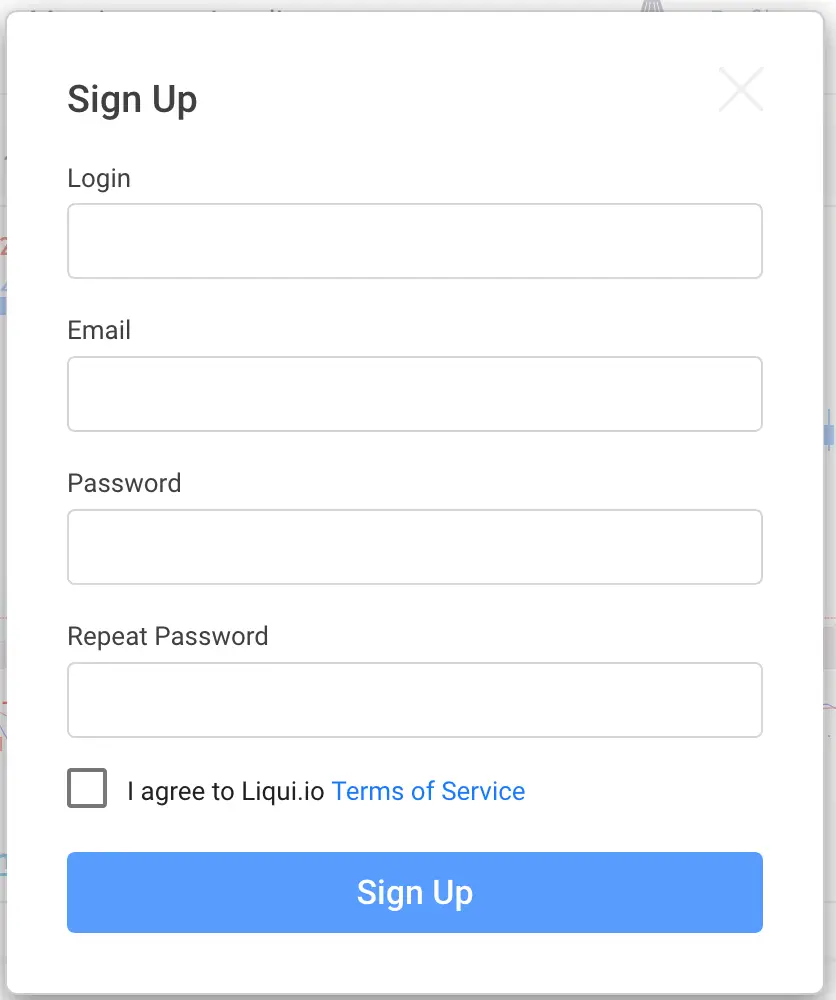
Go ahead and sign up to Liqui.io. Signing up is a simple and easy process, all you need to do is confirm your email address.
Once that's done, we need to transfer ETH to our Liqui.io account.
Transfer ETH to Liqui.io
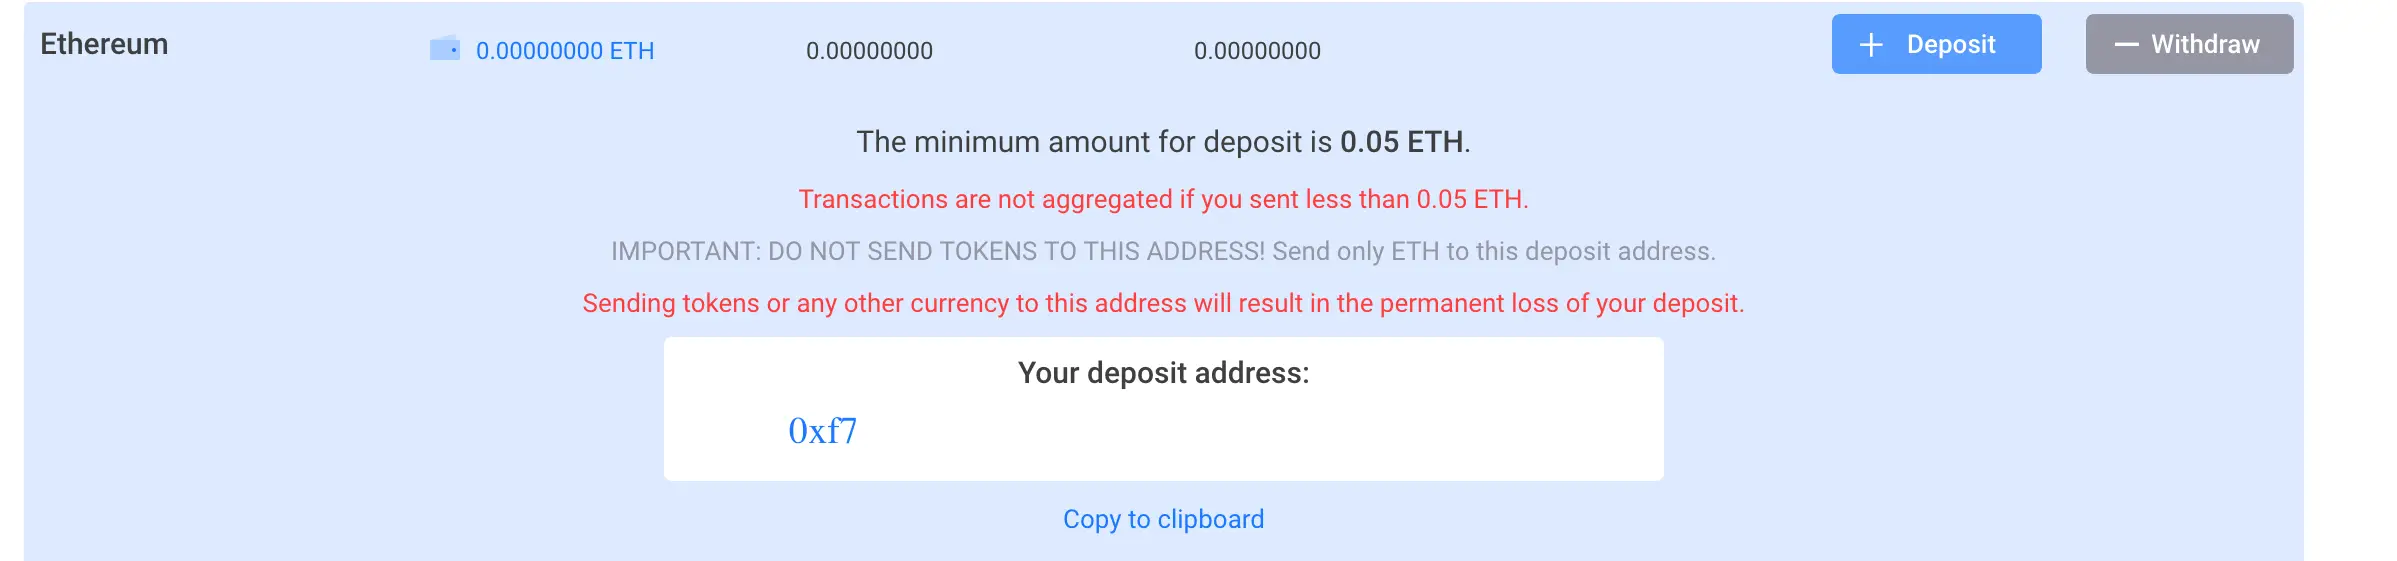
In order to transfer ETH to liqui.io, we need to send ETH to our Liqui.io Ethereum Wallet Address. You can obtain this address by going to the Balances page on Liqui.io.
Once there, look for the Ethereum coin and click the Deposit button. This will bring up section on the page which will display your Ethereum Address for Liqui.io. You want to send your Ethereum to this address. Do not send any other coin to this address, as it won't work and the coins will be lost forever.
Liqui.io has a minimum amount of Ethereum you can send, which is currently set at 0.05.
If you're using Coinbase, you can send Ethereum to your Liqui.io account by going to Your Accounts, clicking on the Ethereum tab and selecting the Send button. Here'll you enter your Liqui.io address and how much Ethereum you want to send.
When the Ethereum has been sent, it'll take around ten minutes to show up in your account depending how congested the Ethereum network is. You can see your Ethereum balance on Liqui.io on the same Balances page you got your Deposit address from.
When you have your Ethereum, it's time to buy some NET tokens. Head over to the Liqui.io Exchange.
Buying NET on Liqui.io Exchange
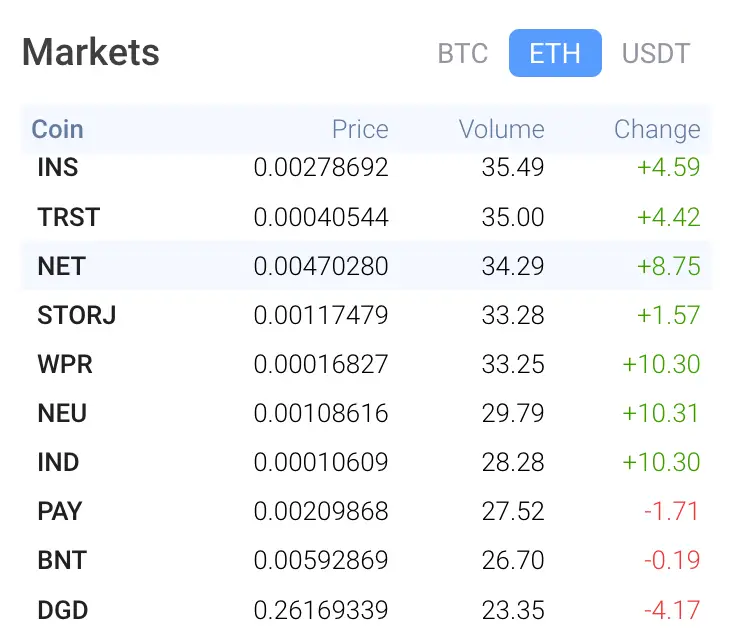
If you've ever used an exchange before to buy tokens, the layout is pretty similar. You can see all the trading pairs on the left side of the screen and the center of the screen shows the recent price history of the pair that has been selected.
We want to select the ETH/NET pair, since we are trading Ethereum for NET. Select the ETH tab on the token list, and scroll for the ETH/NET pair. Click it and it should load the recent price history, buy/sell boxes and recent trade orders.
On this page, you should notice two boxes for buying and selling NET tokens. Here you'll want to setup your buy order. Enter the amount of NET tokens you want to purchase and the price per NET token you're willing to pay.
You can see the current trading price of NET by going to the Sell and Buy orders window. You'll want to purchase NET at a price in between these numbers.
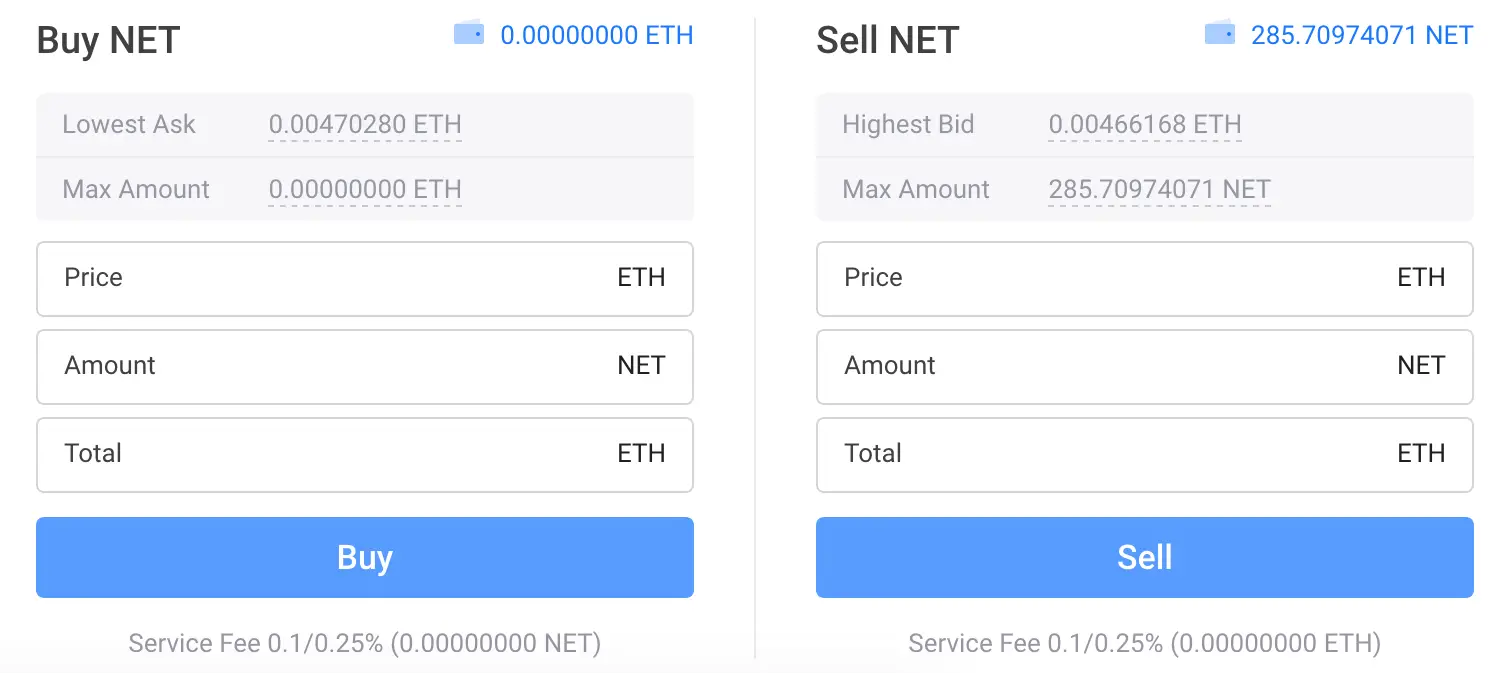
The Sell Orders represent the lowest price at which someone is willing to sell their NET for ETH. And the Buy Orders are the highest price at which someone is willing to buy NET for ETH.
Once you've made your Buy Order, it will be displayed in the Buy Order's window until someone sells you NET at the price you were willing to buy at.
Liqui.io trade volume for coins can be quite low, so you may end up waiting a couple of hours for your order to fulfil. Once done, you can view your NET tokens in the Balances page.
Liqui Fee for NET
To withdraw NET tokens to a wallet, it'll cost 3 NET as a fee. You can use a free wallet like MyEtherWallet to store your NET tokens safely.
NET to NIM conversion
Nimiq is planning on converting it's NET tokens to NIM tokens for the launch of their Mainnet. This is planned to happen in Q1 2018. In order to convert your NET tokens, you'll need to fill out a KYC form. More details will be released close to the planned Mainnet date. Follow Nimiq on their Subreddit and Twitter for more information.
Store NET in MyetherWallet
MyEtherwallet is a free wallet you can use to store any ERC20 Tokens in. NET is an ERC20 Token so you can transfer your tokens to this wallet and keep them safe for when you need to use them later.
In order to send NET to your MyEtherWallet, you need to get your MEW's Address.
It doesn't take long to setup a wallet, so we'll go through step by step on how to do it. Head over to MyEtherWallet and you'll be presented with a page to create a new wallet.
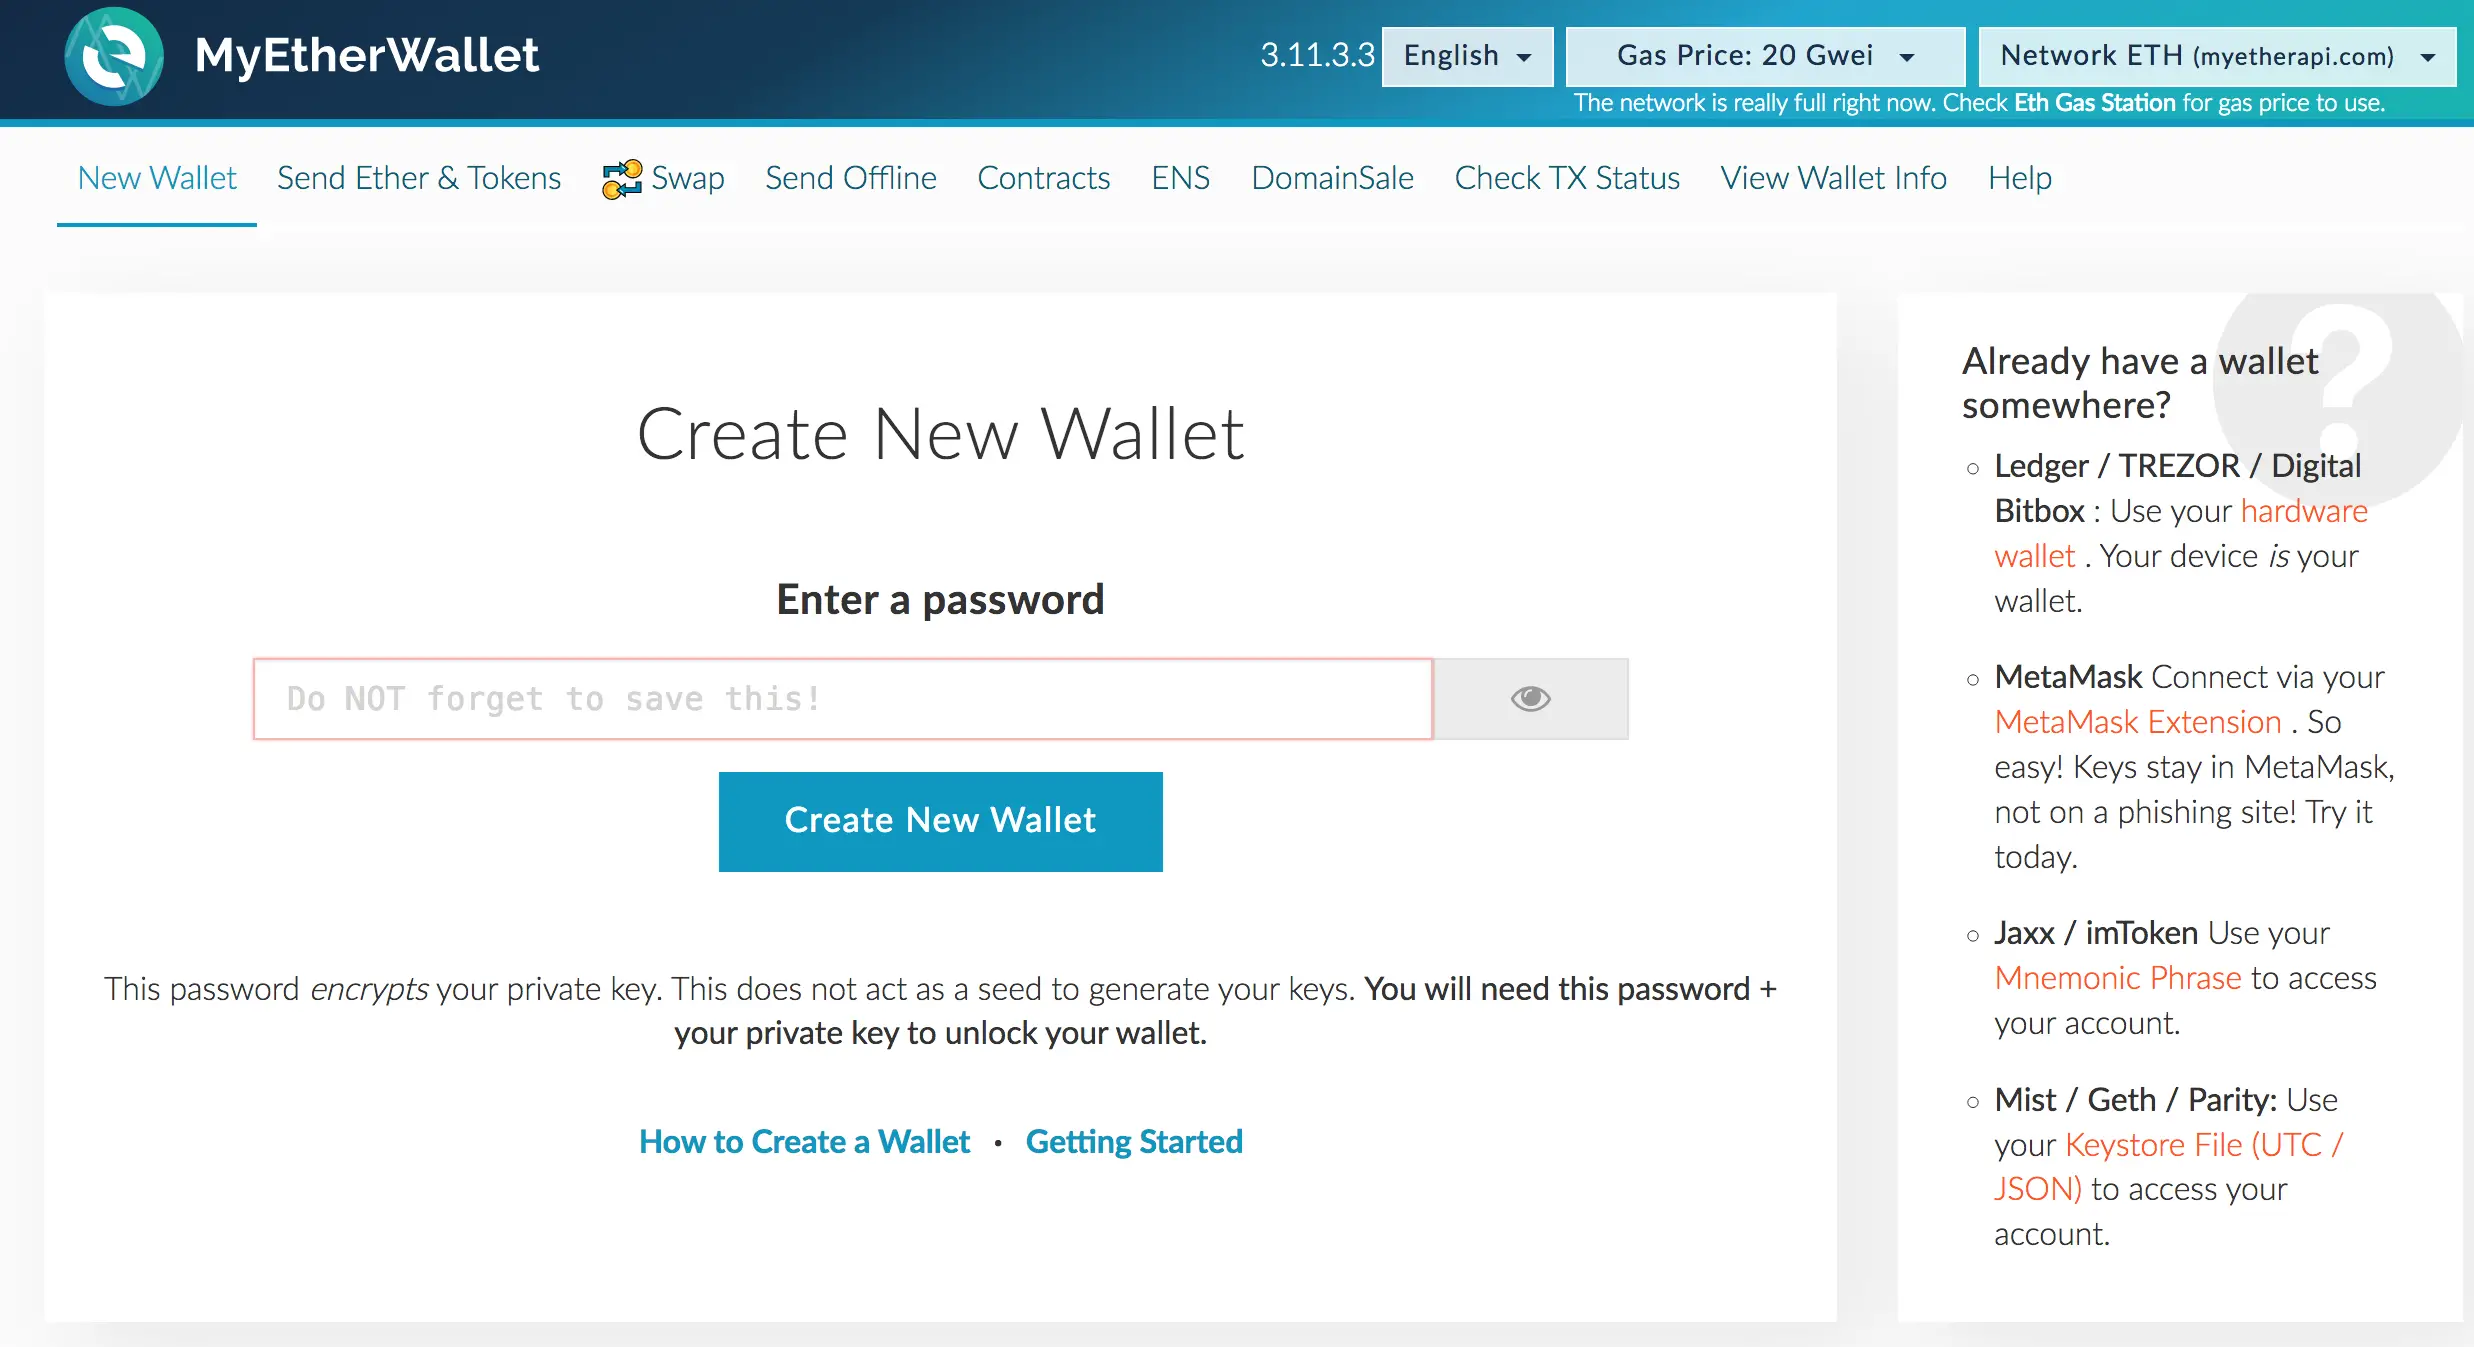
MyEtherWallet uses a combination of both Private Key and Password to unlock the wallet. Simply enter a strong password into the Create Wallet page and you'll be taken to the next step.
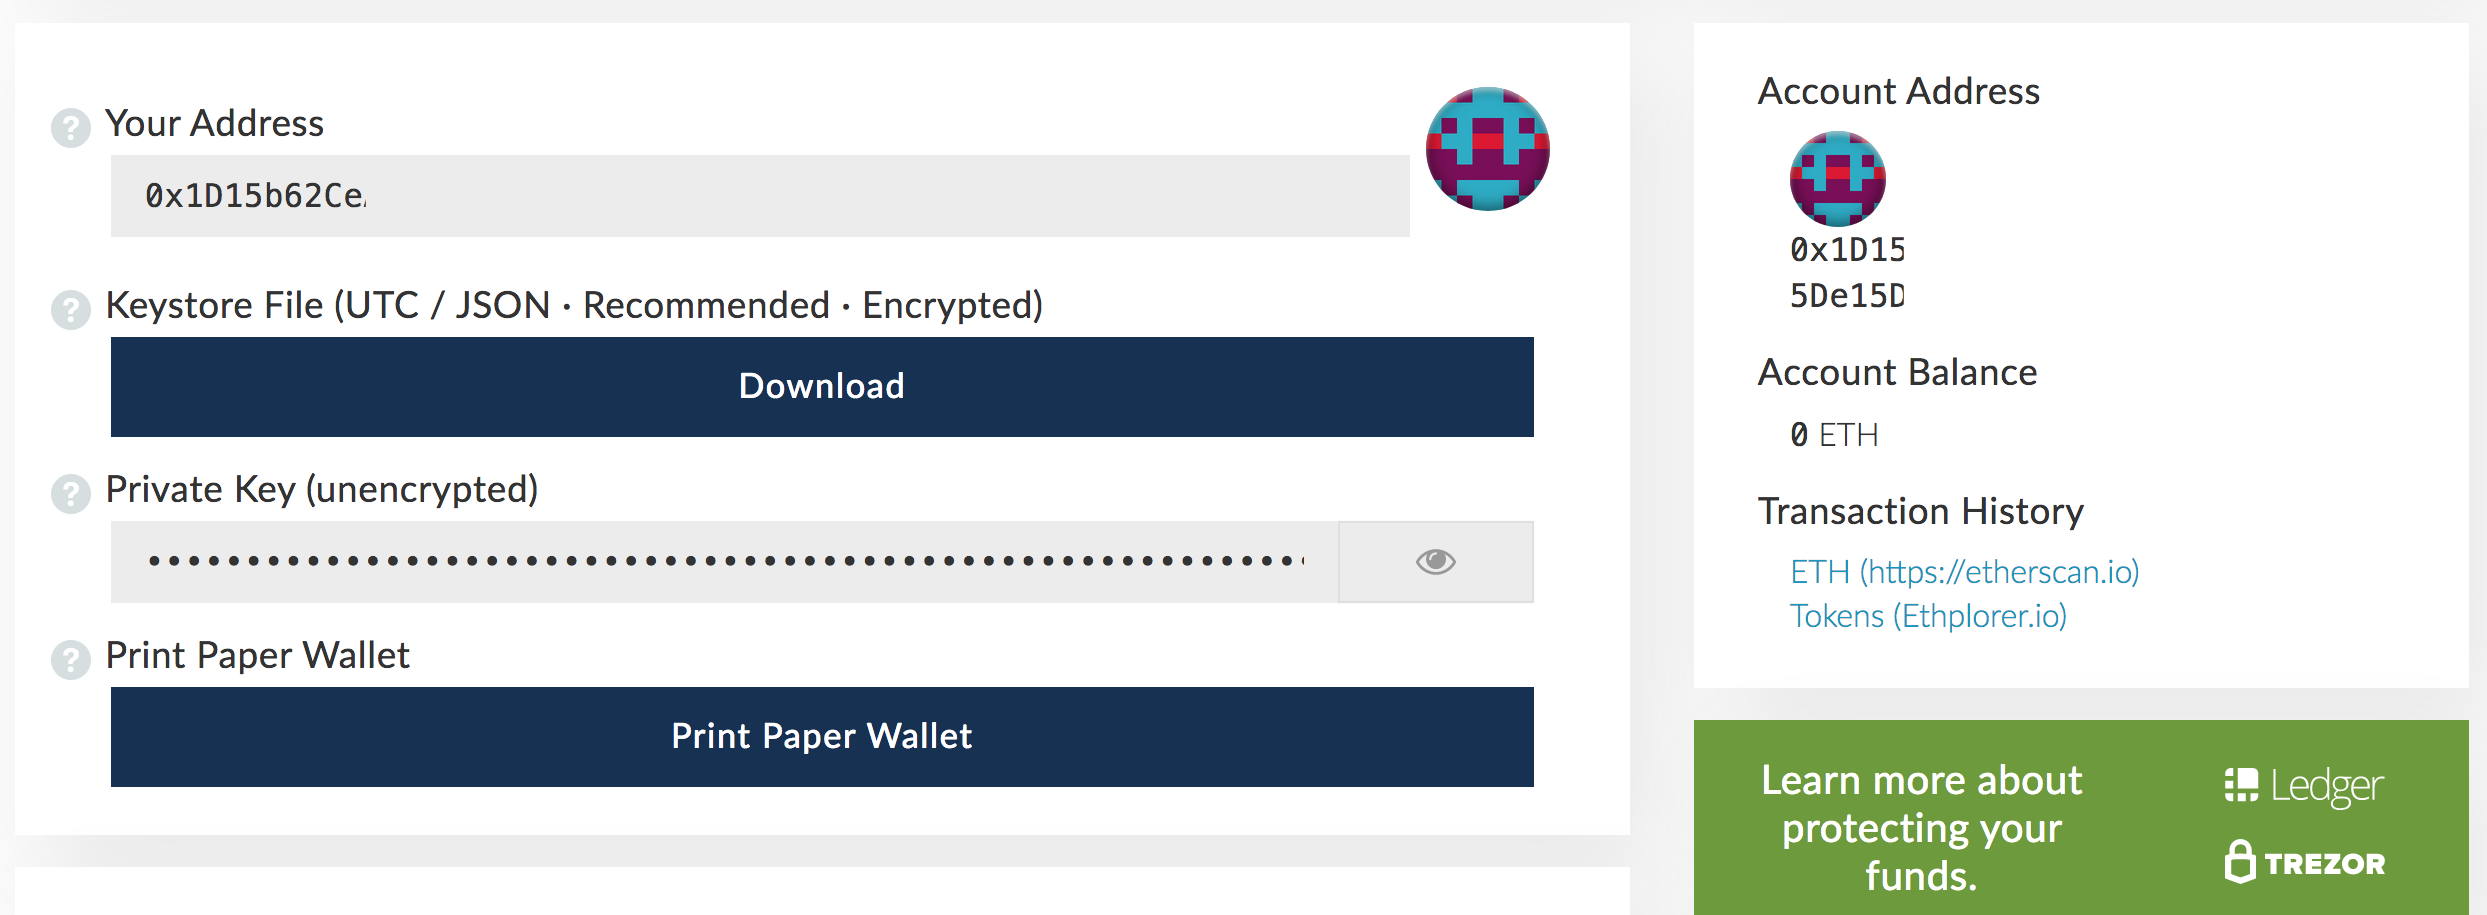
Next you'll be asked to download the keystore file. This contains your Private Key and is used as a quickway to unlock your wallet (you don't have to type in the Private Key everytime you unlock the wallet).

Save it somewhere safe and continue to the next screen, where you'll be given your private key. This string of characters is what is used to unlock your wallet. You can copy this private key in a offline file or even write it down/print it off.
You've successfully created your own Wallet! It's simple and that easy. For extra security, you can create multiple wallets and keep your funds spread across multiple places.
You need to unlock your MyEtherWallet to obtain the address for it. Once unlocked, your Wallet's Address is displayed in the corner. You can give this out to anyone who you want to send you funds. No one can hack your wallet with your public address.
Now that you have your MEW Address, head over to Liqui.io and click on the Balances page. Find NET and select the Withdraw button. You'll have to pay 3 NET tokens as a fee for sending NET to your MyEtherWallet.
Subscribe to our blog and get the notifications on when the latest post is published!
We may occaisional send you a relevant advert alongside email alerts to help support this service.

Leave A Comment